
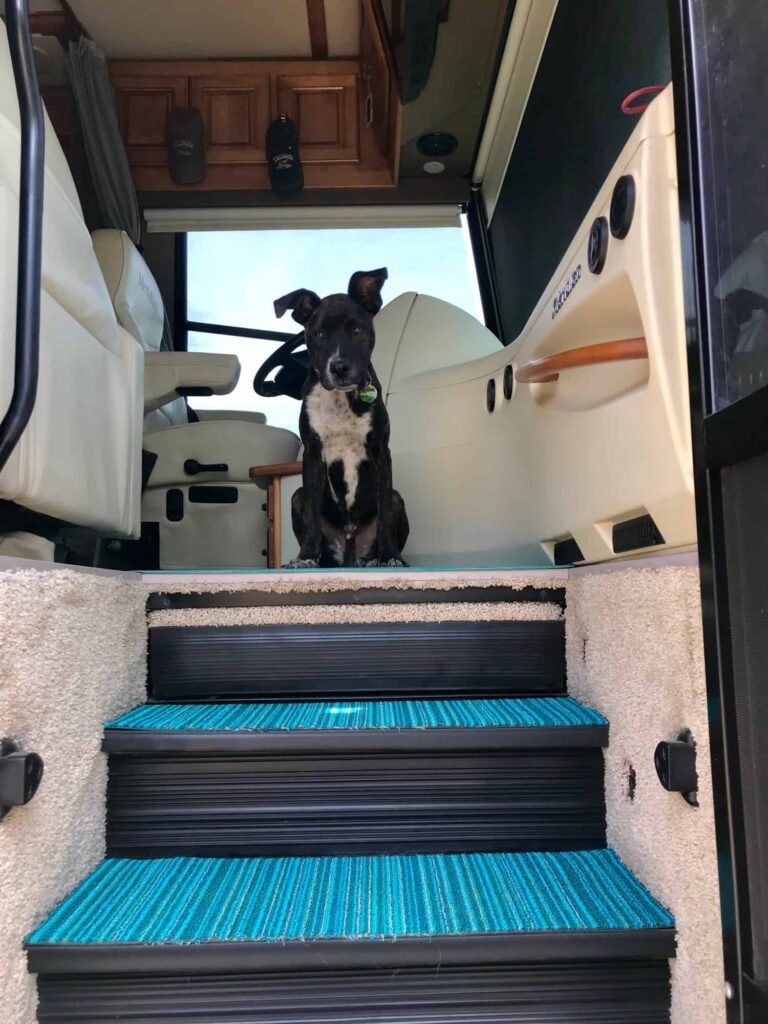
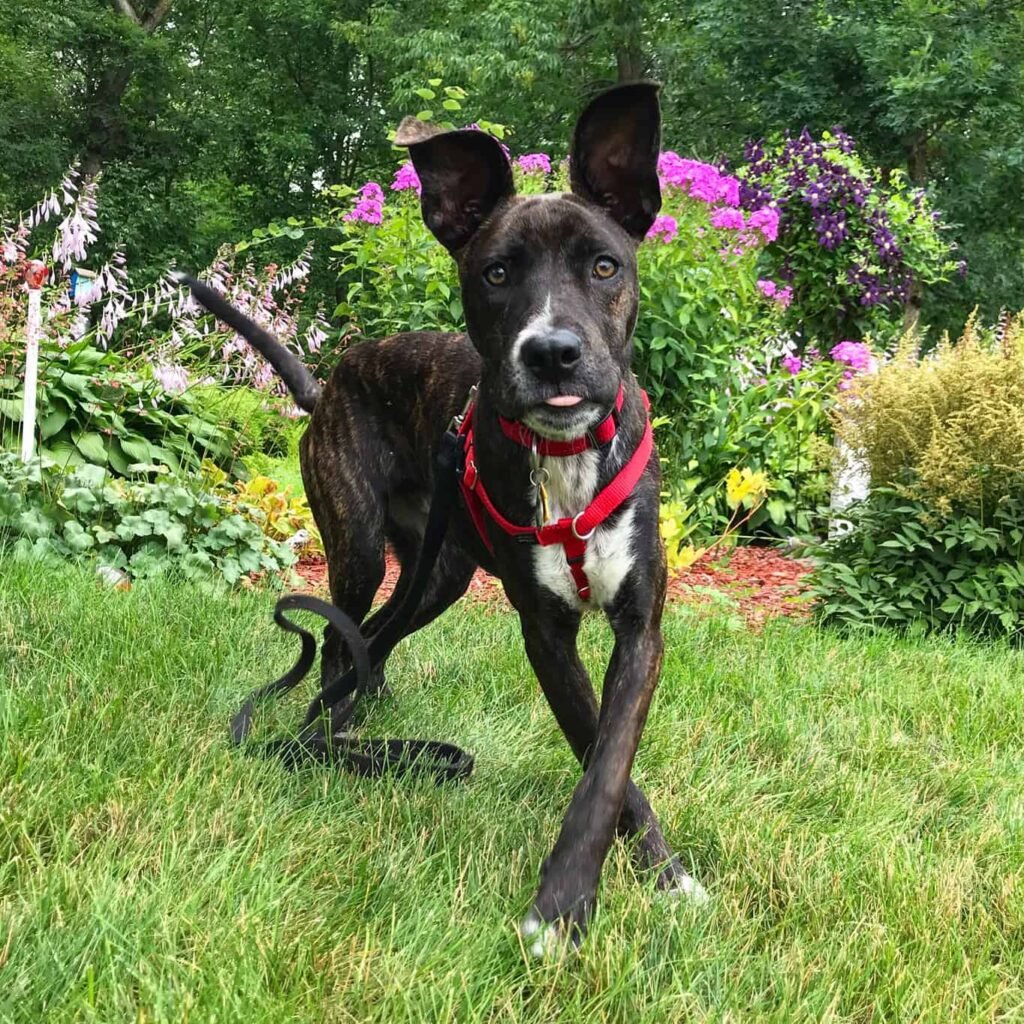
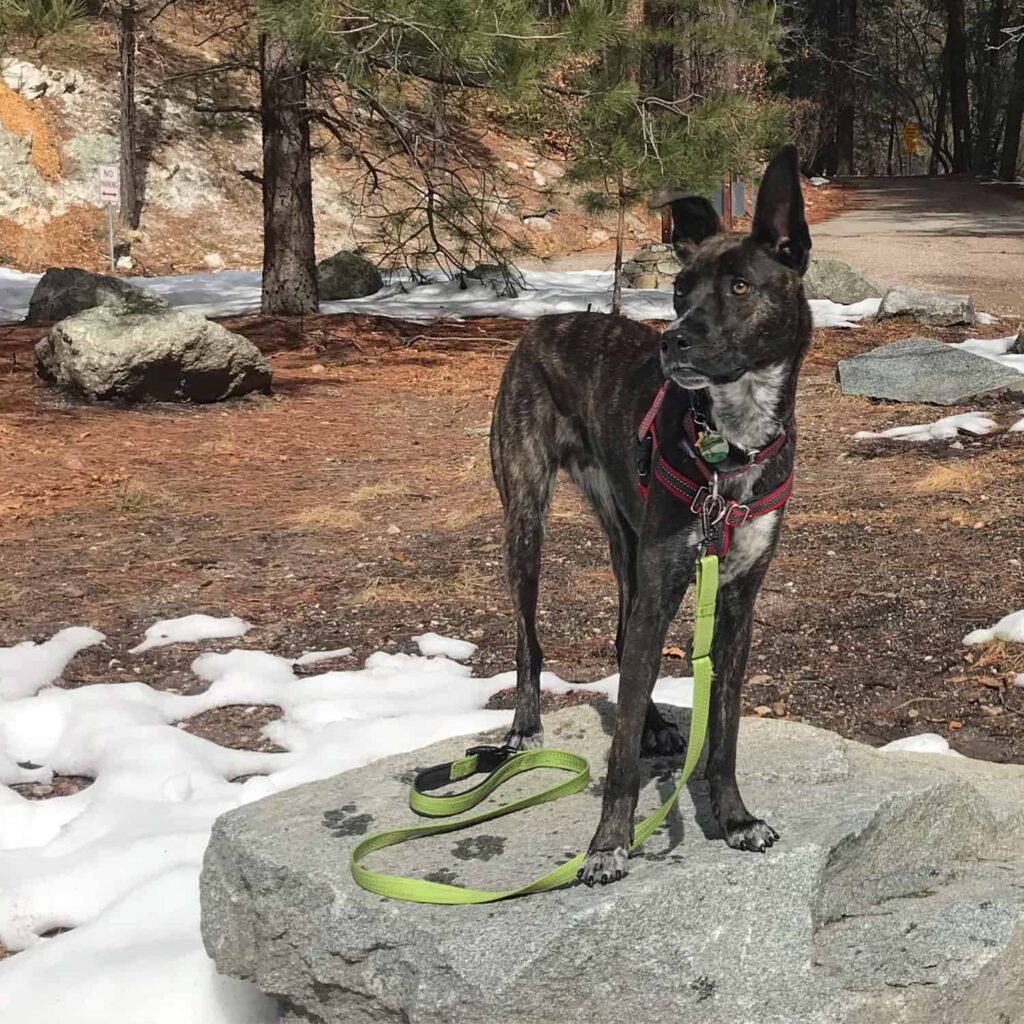
Capturing the perfect photo of your dog, whether on a scenic road trip or at home, can sometimes feel like a battle of wills. If you’ve ever tried to snap a picture of your pet only to find them either too distracted, too energetic, or just plain uncooperative, you’re not alone. Fortunately, with the right techniques and a little patience, you can teach your dog to pose for photos like a pro. After traveling with our dogs for over a decade, I’ve honed a few strategies to make photo sessions more enjoyable for everyone—especially my dog, Myles, who has become quite the model!
Step 1: Master the “Sit” Command
The foundation of a good photo is a calm, controlled dog. Before you can expect your dog to sit still for a photo, you need to teach them a solid “sit” command. My approach is simple: when I say “sit,” it means dropping their rear to the ground and staying there until I release them. This is a non-negotiable command in our household, which keeps things clear and easy for both me and the dog.
Training “sit” is one of the simplest behaviors to reinforce and can be practiced multiple times a day without much effort. Keep some treats on hand, ask your dog to sit, and reward them when they comply. Over time, you can increase the duration of the sit, introduce distractions, and practice in different locations. A well-trained sit is crucial because it gives your dog the foundation for all future photo poses.
Step 2: Teach the “Watch Me” Command
One of the trickiest parts of photographing dogs is getting them to look at the camera. Dogs are naturally inclined to look away from direct eye contact, especially when they spot a large camera lens. To address this, I taught Myles the “watch me” command, which means focusing his gaze on the camera (or me) when prompted.
You can start training by holding a treat near the camera or just by asking your dog to look at you. Gradually, reward them when they focus their attention in the direction you want. This training works especially well with a phone camera, which is smaller and more familiar to most dogs. Over time, your dog will learn to associate the camera with positive reinforcement, making it easier to capture their attention when you’re ready to take that perfect shot.
Step 3: Cultivate Patience
Taking photos of your dog can be frustrating, especially if you’re trying to capture a specific moment or pose. Dogs have their own rhythm, and sometimes their timing doesn’t align with ours. Whether it’s a distracted puppy, a noisy environment, or just a bad day, it’s essential to approach these photo shoots with patience.
If you feel frustration creeping in, take a step back and breathe. Dogs can sense our emotions, and if they pick up on your frustration, it can make them anxious and less cooperative. Instead, remind yourself that this is supposed to be fun, and the photos you’re capturing are a reflection of the bond you share with your pet. Embrace the imperfections, and let your dog enjoy the moment!
Step 4: Practice, Practice, Practice
Just like any new skill, the more your dog practices posing for photos, the better they’ll get at it. Start with low-distraction environments—your living room or backyard—and slowly increase the difficulty by practicing in busier, more exciting places. Myles was posing for pictures almost every day, and as he got used to the routine, we could capture beautiful shots even in challenging situations.
When you’re ready to shoot, ask your dog to sit and give them the “watch me” command. Take several photos and reward them with a treat for staying calm. The more consistent you are with your approach, the better the results will be. Eventually, your dog will get used to the process, making photo sessions feel more like second nature.
Step 5: Embrace Imperfection
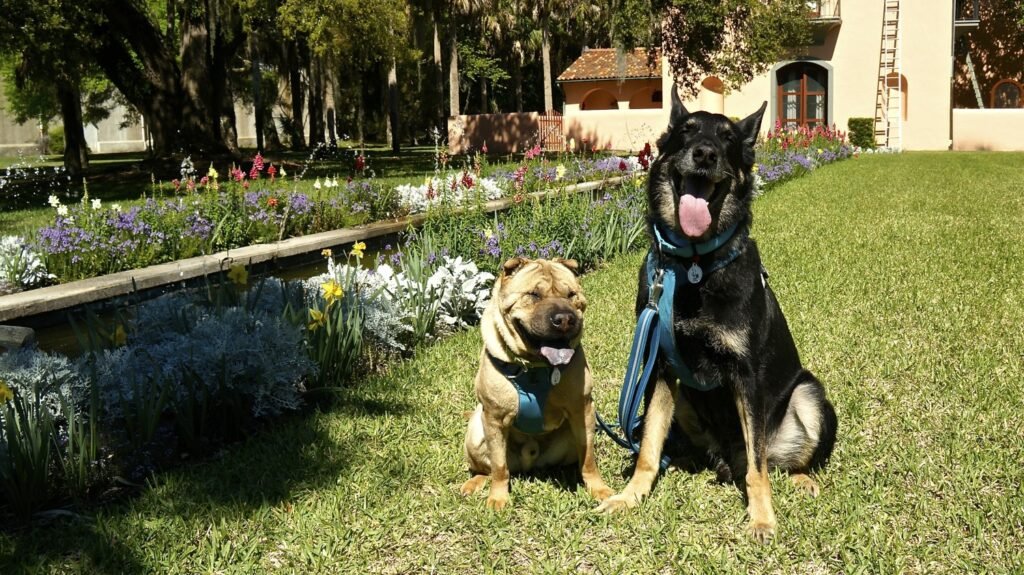
Even after years of practice, not every photo will be perfect, and that’s okay! Some of the best moments I’ve captured have been unexpected or imperfect. One of my favorite photos of Ty and Buster happened during a hike at Lake Agnes. While I was trying to get a good shot of them sitting by the lake, Ty noticed a chipmunk and became distracted. The look on his face and the chaos that followed still makes me laugh!
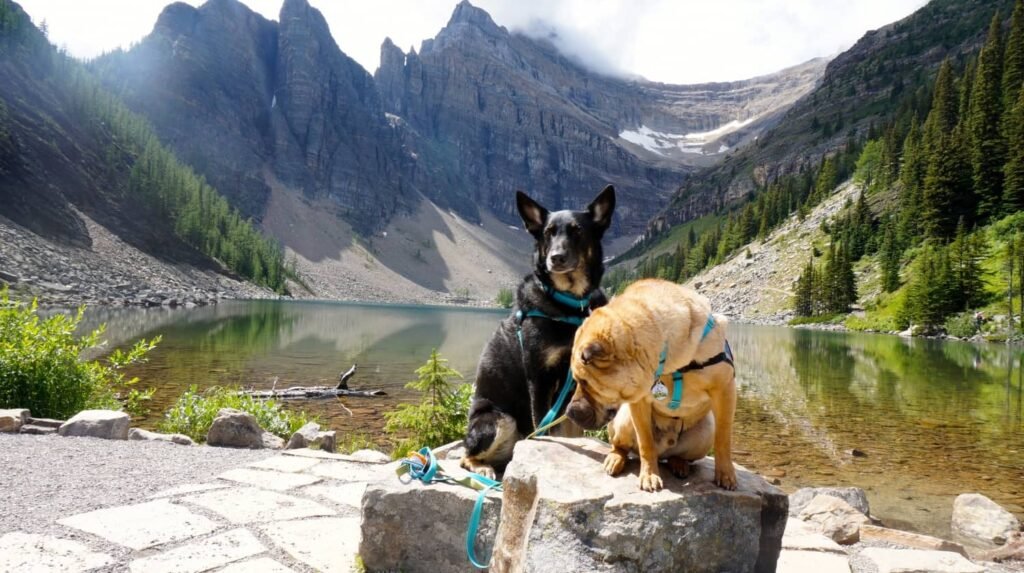
The beauty of dog photography lies in those unscripted moments. Sometimes, a photo that doesn’t meet your ideal vision ends up capturing something real and precious. So, don’t get too caught up in the perfect shot—embrace the chaos and the joy that comes with having a dog as your model.
Step 6: Know When to Walk Away
It’s essential to recognize when your dog has had enough. If they’re getting too distracted, restless, or simply unwilling to cooperate, it’s okay to call it a day. Pushing a dog beyond their limits can result in stress for both you and your pet, which won’t help your photo shoot. If your dog is showing signs of discomfort or boredom, it’s better to try again later than force them into an uncomfortable position.
When Myles was younger, he would often lose interest after a few minutes of sitting still. It was important to understand his limits and avoid pushing him too far. As he got older and more accustomed to photo shoots, his patience grew, but every dog has their own threshold.
In the end, teaching your dog to pose for photos is all about building trust, consistency, and patience. With a few simple commands, some treats, and a willingness to let go of the pursuit of perfection, you can turn photo time into a fun bonding experience for you and your furry friend. So, grab your camera, start practicing, and remember that the best photos often come from the most unexpected moments!
Whether you’re documenting a road trip or capturing a quiet afternoon at home, taking photos of your dog can be one of the most rewarding ways to preserve your memories together. Just keep practicing, stay patient, and enjoy the process. The best moments are often the ones you least expect!
